Use an Amazon Machine Image in a Spinnaker Pipeline
Overview
In this guide, you create a pipeline that takes the Debian package produced by a Jenkins job and uses it to create an Amazon Machine Image (AMI) before deploying that image to a server group.
Prerequisites for using an AMI in Spinnaker
- A configured Jenkins Master
- A Jenkins job that archives a Debian package
- A security group within AWS with appropriate permissions
Step 1: After selecting your Application, click the Pipelines category.
Step 2: On this page, click the “+” icon.
Step 3: Input a name for your new pipeline
Note: Strategy will be covered in a separate guide.
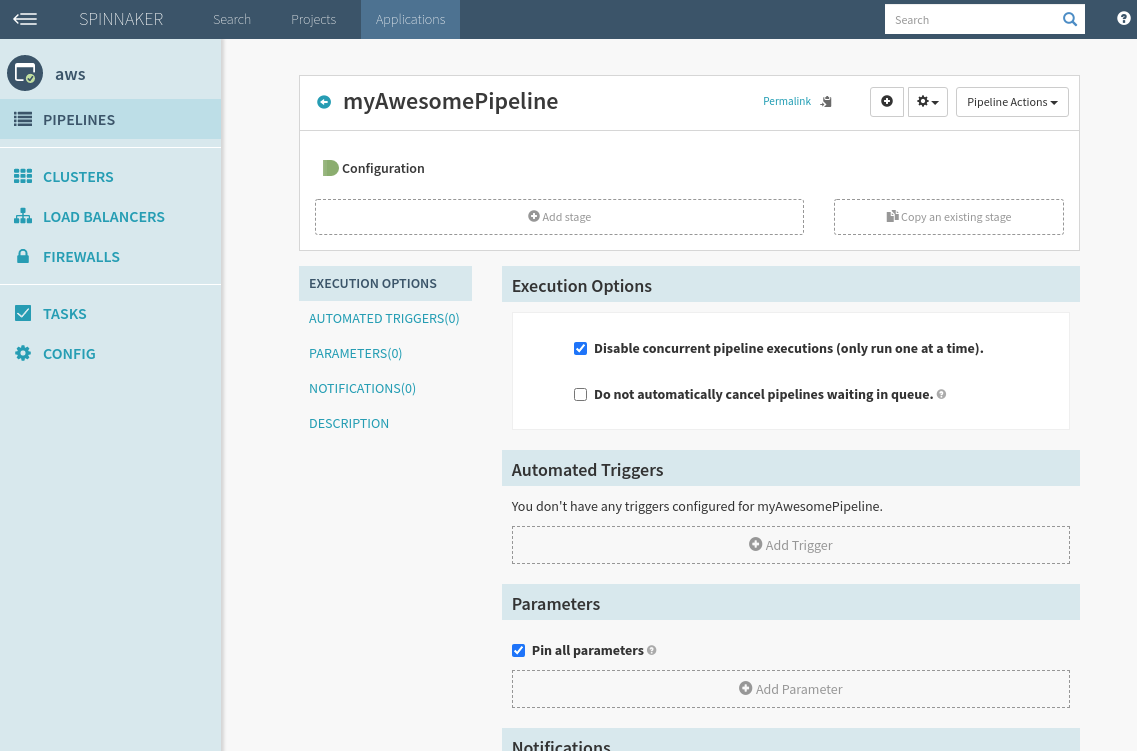
Step 4: On this page you will see
- A visual representation of your pipeline and its stages
- Execution Options
- Automated Triggers
- Parameters
- Notifications
- Description
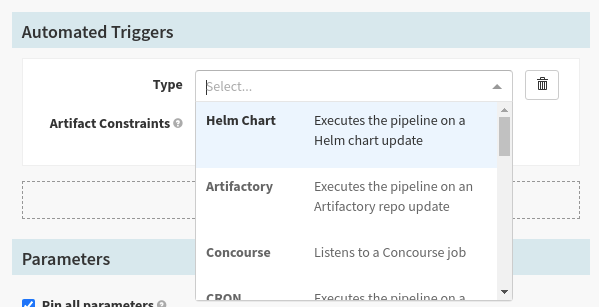
Step 5: The first thing you should do is set up how your pipeline will be triggered. Scroll down to the Automated Triggers sub section. This section will allow you to select a Type first, looking like this.
Step 6: For this example we will select Jenkins. By adding a trigger we are defining how our pipeline will be initiated.

Note: The Property File is an important topic that will be covered in a separate guide.
Step 7: Before you test your pipeline, you may want to consider enabling or disabling the trigger via the checklist at the bottom.
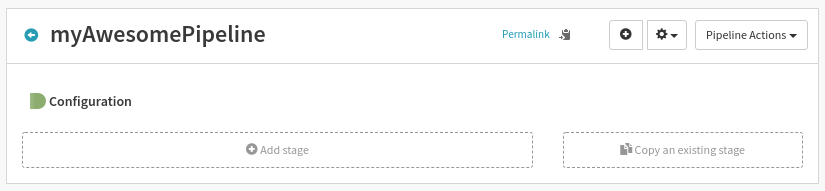
Step 8: Add a new stage.
Click the add stage button in the visual representations section.
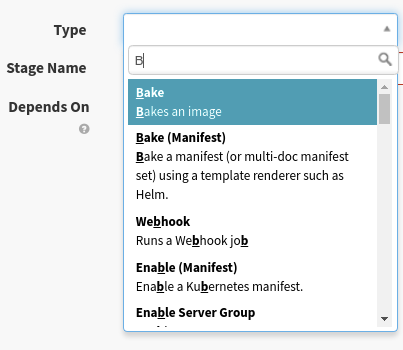
Step 9: Select Bake from the different types category.
Step 10: Select the region you want to bake in.
Enter the name of the package that was archived by the Jenkins job.
Note: The package name should not include any version numbers. (e.g.: If your build produces a deb file named
myapp_1.27-h343, you would want to entermyapphere.)Note: If you would like to configure your own Base AMI under the Advanced Options, the Base OS configuration will be ignored.

Step 11: Now add a Deploy stage by clicking Add Stage again. In the Type category select Deploy. Deploy’s configuration settings should pop up on the screen.

Note: If we want to reorganize the order that the stages execute in the pipeline, we can add or remove precursor stages in the Depends On category.
Step 12: In the Deploy Configuration, click on the “Add server group” button. Pick your provider. For our example it will be AWS.
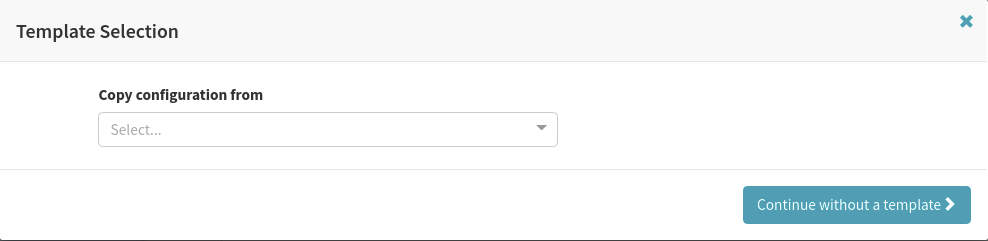
Step 13: Select “Continue without a template”.
Since this is a new application we will not choose to copy a configuration from a template.
Step 14: Set up the Deploy Strategy.
We will use the Highlander strategy for this example, which will ensure that only one server group for our application exists at a time.
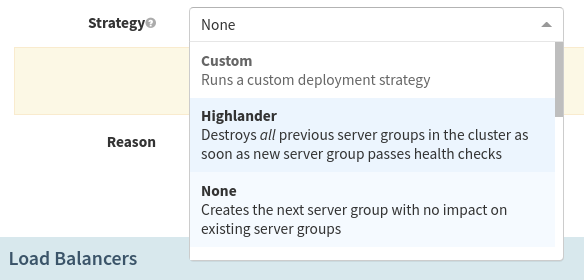
Note: Different deployment strategies are important and there will be a separate guide for those.
Step 15: Select a security group
The security group will define the access rights to your resource.
Step 16: Select Instance Type.
Make sure to select the right instance type for your application, preferably the one that is running in production currently.
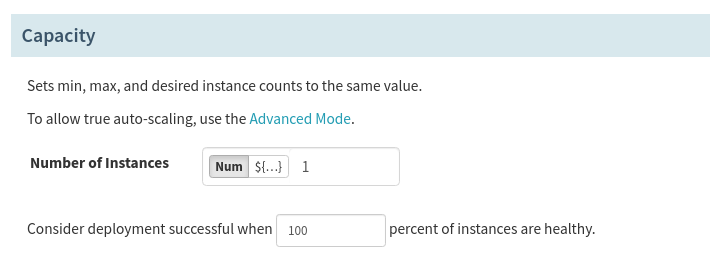
Step 17: Select the Capacity
Select how many instances you want in your server group on deploy. For our example, we will set it at 1.
Step 18: Add the server group.
Click “Add” and you’ll be brought back to your Application and to see your new Deploy Configuration.
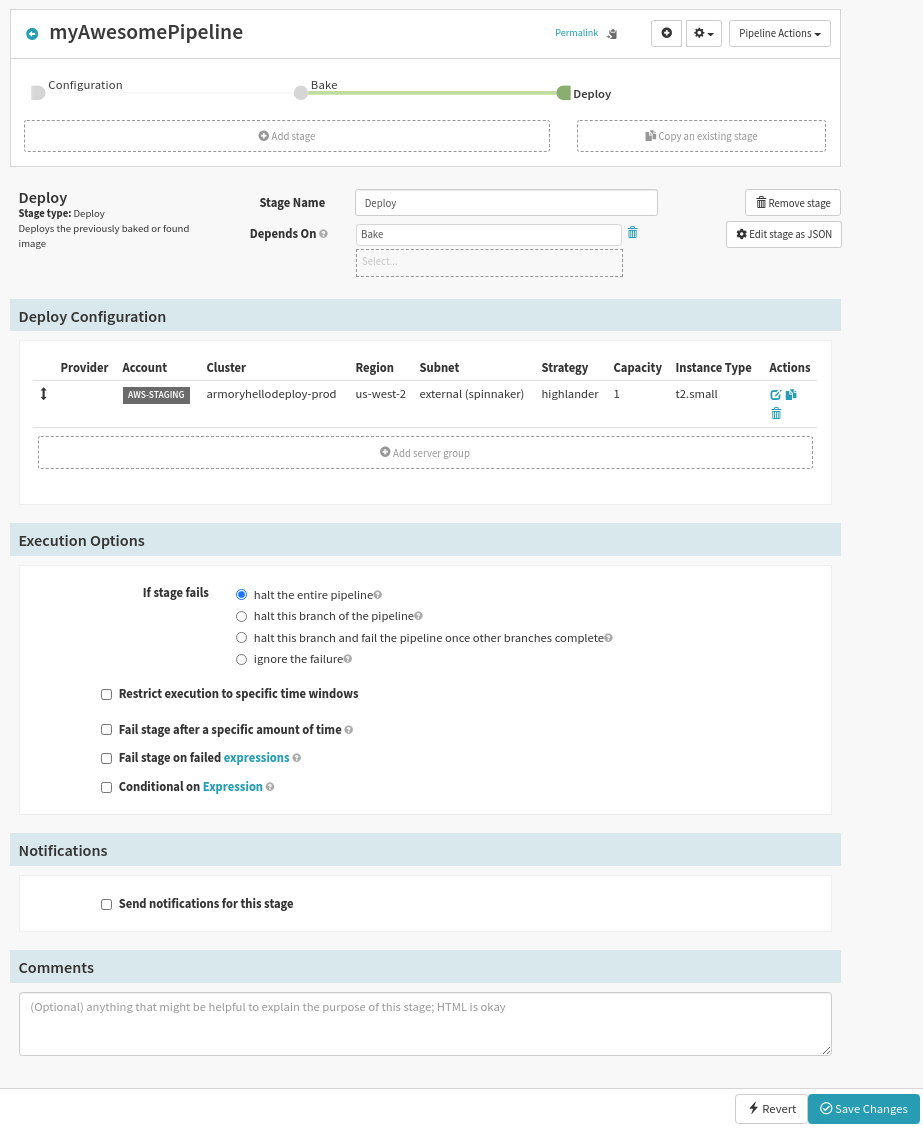
Step 19: Save the changes
Press “Save Changes” at the bottom right of your window.
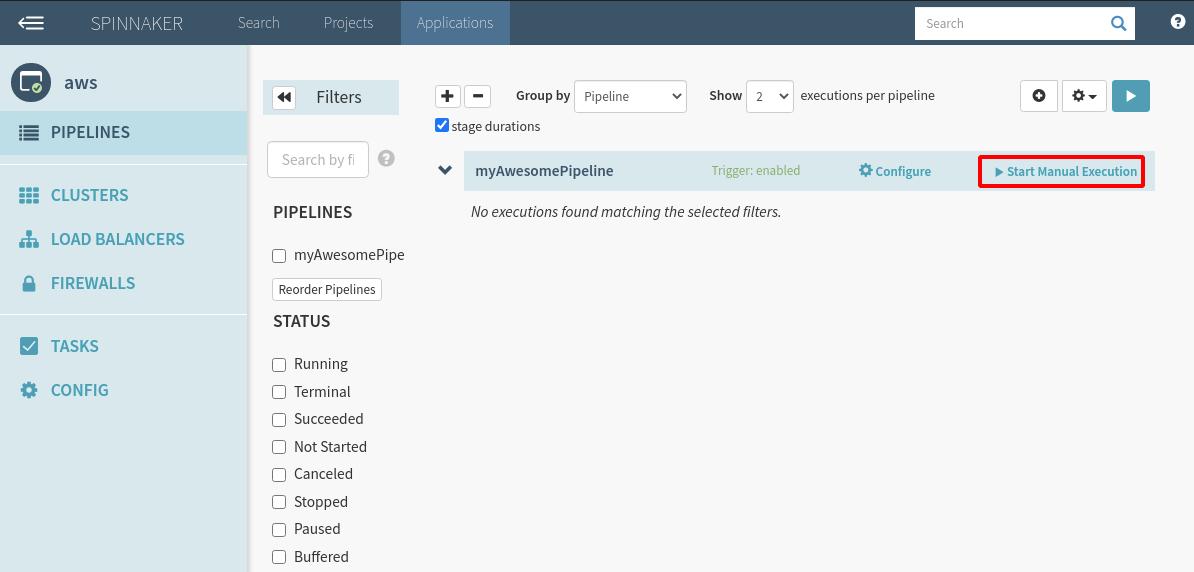
Step 20: Go back to the Pipeline Overview.
You should see your new pipeline. Click on “Start Manual Execution”.
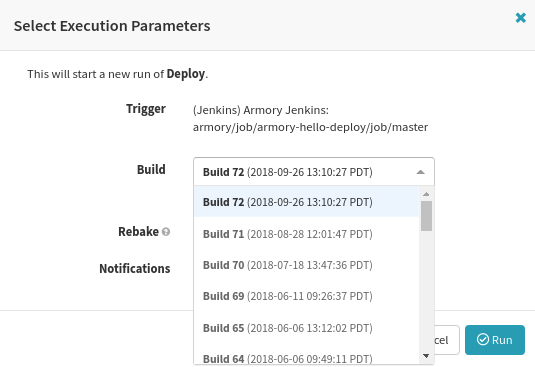
Step 21: Select the build to run.
You will be able to select a Build for your Jenkins job from a drop down menu. By default, Spinnaker will not recreate an AMI unless the underlying package has changed. If you would like to force it, you may use the checkbox for “Rebake”.
Step 22: Run
You should see a progress bar where blue represents running and green represents complete. Gray represents not ran or canceled. Red is a failed task.
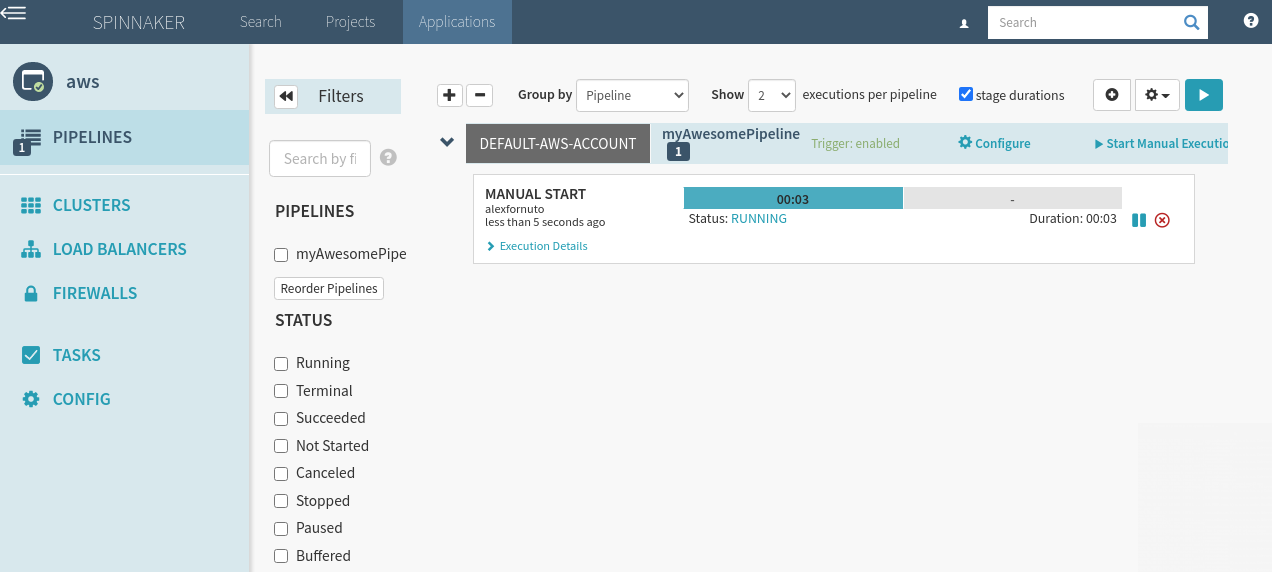
If your pipeline does not succeed, refer to one of the troubleshooting sections in the pipelines, baking, or deploying guides.
Feedback
Was this page helpful?
Thank you for letting us know!
Sorry to hear that. Please tell us how we can improve.
Last modified October 17, 2023: (aa87b671)